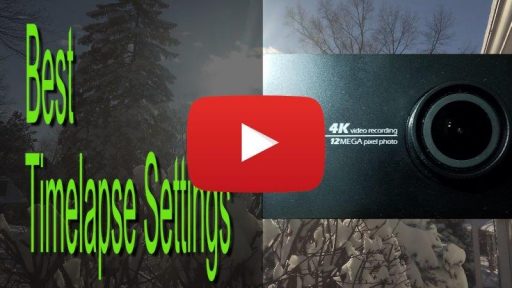
6 Tips for shooting Time Lapse Video with the YI 4k Action Camera
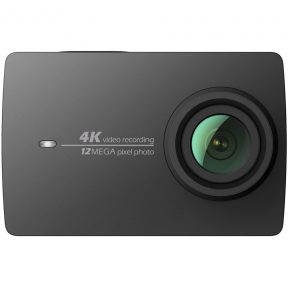
I took a trip down memory lane and watched one of my earlier YouTube videos from my first year of becoming a content creator. It’s a little hard to watch because I seemed very awkward on camera and I was out of focus for half of the video. But I am always surprised by what gets views on my small channel because after 150 plus videos and 3 years later, it remains one of my most popular videos. And although the Yi 4k action camera is no longer a hot buy per se, the advice that was given for creating time lapse videos can still be a big help to someone who does not know how to it. So here are 6 tips to help create time lapse videos with YI 4k action camera.
- Shoot Time Lapse Video instead of Time Lapse Photo – This is for the person who wants to make a time lapse video easily without having to piece together hundreds or thousands of individual pictures like you would need to do in Time Lapse Photo mode. The Yi 4k will make a video based on the interval length you choose, so it will be a small data size and will be in mp4 format ready to go. Share away or add it to one of your existing projects very easily.
- Shoot at largest video size – If you are shooting in Video Time lapse mode set it to 4K (3840 x 2160). This will insure the sharpest picture possible, and most times you want a time lapse video clip that is 5 – 10 seconds, so even if you are shooting in 4k resolution or larger, you’re file is going to be pretty tiny. Plus if you wind up making a smaller resolution video such as FHD(1920 x 1080), then you’ll be able to re-frame your shot and add some cooling panning, titling, or scaling effects.
- Correct for Lens Distortion – The video will have a curved look to it due the distortion caused by the lens, but your editing software may have a way to fix that. If you use Premiere Pro you can use one of the GoPro Hero Lens Distortion Removal effects. Of course if you like the look, then feel free to leave it alone.
- Shoot Time Lapse Photo instead of Time Lapse Video – Huh??? “But the first tip is opposite…are you crazy?” That’s what you are thinking right now. And to answer your question, I am a little crazy, but it has nothing to do with this. I personally prefer to do the extra work while editing in Premiere and use the Time Lapse Photo mode because it has a little more resolution than 4k mode. You can get up to 4000 x 2160 allowing for more framing options when editing. Watch this video for examples. And you can also lower your ISO even lower in this mode, you can control your shutter speed, and you can set extra long intervals – all the way up to 60 minutes. Maybe you need it to be this long for some reason.
- Shoot at lower ISO – This camera is only an action cam with a very small image sensor, so it is not a low light beast. So if you can help it, try to keep your ISO as low as possible to ensure a nice sharp, detailed, and grain-free image.
- Set your White Balance to Manual – In the video, you will see an example of what happens when time lapsing outdoors from day to night and leaving the White Balance in Auto. It causes some abrupt color shifts. Setting the camera to a manual white balance will remedy this problem.
That about wraps it up. For more information, please watch the video below: