Part 1 - Before you press record
You’re about to get married! Yayyyyyyy! Congratulations! I really mean that. But you aren’t here for my congratulations…no indeed. You are looking to film your own wedding, but you don’t have enough in your budget for a professional videographer or perhaps you have the money in your budget, but you rather spend it on other things. Maybe you want to put it towards your honeymoon, a down payment on a house, pay off college loans, or who knows. The fact of the matter is that you want video, but want it on the cheap. So the question is, “Now what?”
In this article we’ll discuss some practical tips for using your smartphone to turn you into a DIY wedding videographer. Although a smartphone may not be as good as the $10,000 of equipment brought by a professional videographer, it can still yield some pretty acceptable results if used correctly. Follow these tips and you’ll be on your way to capturing memories that you can replay for the rest of your life.
I want to break this blog into two. This first section are some settings for your phone that you might want to disable or enable to make your recording a bit easier. And I’ll also show you some accessories that you may want to acquire to aid in your recording as well.
Anyway, let’s begin!
Best Tips for turning your Smartphone into a wedding video machine!
1) Shoot in FHD mode(1080P)
Most smartphones will have the option to shoot in 4k and you may think that more is better, but unless you have a powerful computer, 4k sometimes will have issues playing on your computer and it will eat through the storage space on your phone very quickly. There is nothing wrong with 1080p. It is less resolution, but it is still enough to be blown up on a giant movie screen.
2) Turn your smartphone horizontally
Horizontal = Wide screen. It’s easier to capture more when your screen is flipped on its side in landscape mode. You’ll be able to film yourselves, bridesmaids, groomsmen (if you have any) and more of your audience. Plus if you watch later on a tv screen it will take up the whole screen instead of only the middle.
Quick tip: Make sure you are not locked in Portrait mode or you will have a sideways vertical video. I’ve done this before. It’s annoying.

3) Turn on image stabilization and hold with two hands
Your phone should have an option for some kind of electronic image stabilization. Go into your video settings and turn this on. It will take the wobble out of your shot and make things look prettier when you are not on the tripod. And for added I would still hold with two hands for smoother footage.
4) Make sure your batteries are fully charged
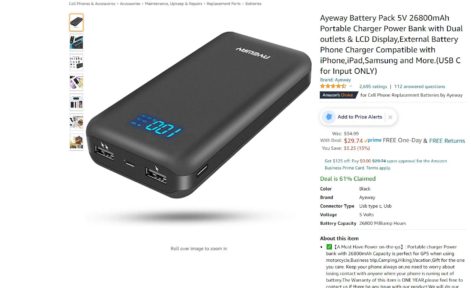
It would really stink if your phone died right before the I do’s and the kiss, so make sure your phone is fully charged during your ceremony. If you know you will be in an area where it may be difficult to find a power source consider purchasing a power bank. Then you can simply tape it to your tripod and plug in your phone, so you know your power will not run out.
5) Make sure you have storage space on your phone or SD card
Video takes up a lot of space, so if you are planning to shoot video footage from your wedding, it would be good to have at the very least 32gb of space, but 64gb would be optimal. If you have a phone that allows for an sd card make sure you add one to your phone. If you don’t you may want to temporarily remove some of the pics and video that are currently on your phone to your computer or flash drive. I would try to put it in two places just to be safe.
6) Put your phone in airplane mode
It would be terrible if someone called you during your wedding ceremony because this would not only potentially make an irritating noise, but it would also most likely stop your recording.
7) Who’s shooting?
Think about who will be shooting the video. Are you going to make guests aware that you are creating your own video, so they can feel free to shoot, or will you have one or two people doing the shooting for you? Your little brother and sister or something like that. Plan that out ahead of time. It could be one or both of you before the ceremony or first dance setting up a camera on a tripod. Have a plan in place, so your wedding day runs as smoothly as possible.
Accessories to consider
And here are a few accessories that you might want to consider purchasing to make your job a little easier.
1) Use a tripod when possible
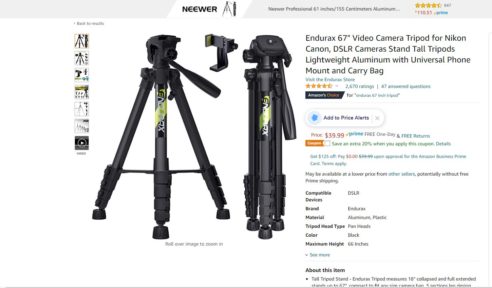
Even though you will have image stabilization on, please use a tripod for the longer parts of your wedding such as ceremony and speeches. A tripod is not that expensive. You aren’t going to be panning or titling so a really basic one is all you need. And you will also need a cell phone adapter so you can mount it to the tripod. This tripod comes with one and in addition it can be adjusted to 66 inches. You typically want your tripod shots at eye-level. You can go shorter, but it doesn’t look as good.
2) Use your phone as an audio recorder and plug in a mic
Everyone has a phone, so maybe ask, mom, dad or whoever if you can borrow their phone so that you can record the audio for your vows. If you are going to use a phone to capture audio, you will need a mic. If you have the phone in a pocket. The cloth from your clothing will cover the mic and it will sound muffled. A lav mic will remedy this. Just attach it to your lapel and hide the wire in an inside jacket pocket, under a shirt, in a bra, whatever the situation might be. Make sure that it works with a smartphone. The connector will have 3 rings instead of 2. That’s how you will know.
***Special Note***
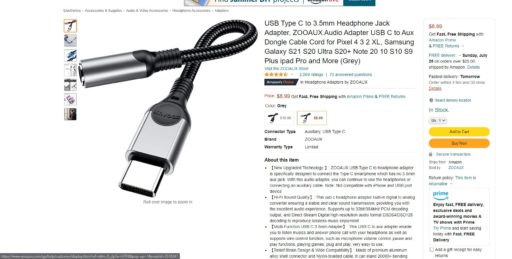
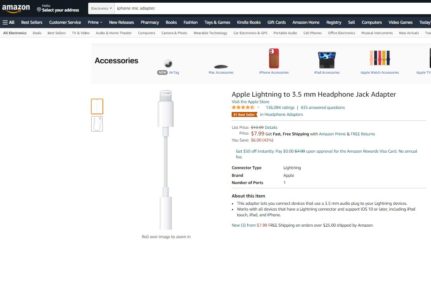
Newer iphones and android phones are no longer coming with a mic jack, so you’ll need a usb adapter like this: Android adapter
An editor will have no problem syncing that audio to your video while editing. That will get you the best audio, but if you aren’t sure how to match that audio to your video while editing that may not matter much, but if down the road you decide to get the video professionally edited, it will really add to your wedding film. If you feel that will be too much of a headache, no worries, just make sure that the tripod and phone are close to you. Don’t have it 20 feet away down the aisle. Get it within 5 – 7 feet if possible, but please check with your photographer first to make sure that this acceptable. If you have a wedding photographer they are working hard to get you stunning photos and a tripod may ruin their shot if not placed in a good spot.
Conclusion
This has been a few tips that will help you before you even get to your wedding, but in the next article, we will look at what you will need to do at your wedding and after the wedding to ensure that you have the best possible video.

If you’re looking for a wedding videographer in the Upstate NY area, please visit my wedding page.

